Part 2, where I built the 18-hole game with AI, is here.
Before I could make and upload videos for all 18 holes, my laptop needed more room. So in one evening I took the RAM from 8GB to 16GB and the storage from 256GB to 1TB.
Why I upgraded
In the last build log, I used Claude Code to build the skeleton of my 18-hole screen golf program. The next step is a set of videos that turn each hole into a planet or a famous place, posted here on Garage Golf Lab. But my 256GB SSD already had 174GB in use, and 8GB of RAM was tight for video editing.
This post walks through what actually happened, from buying parts to cloning, swapping and the first boot. I’ve included the places I got stuck and how I got past them.
What you need
My laptop is an HP Pavilion Gaming 15 (AMD Ryzen, NVIDIA GeForce GTX). It has two RAM slots with one empty, so I kept the original 8GB stick and added one more.
| Part | Product | What it’s for |
|---|---|---|
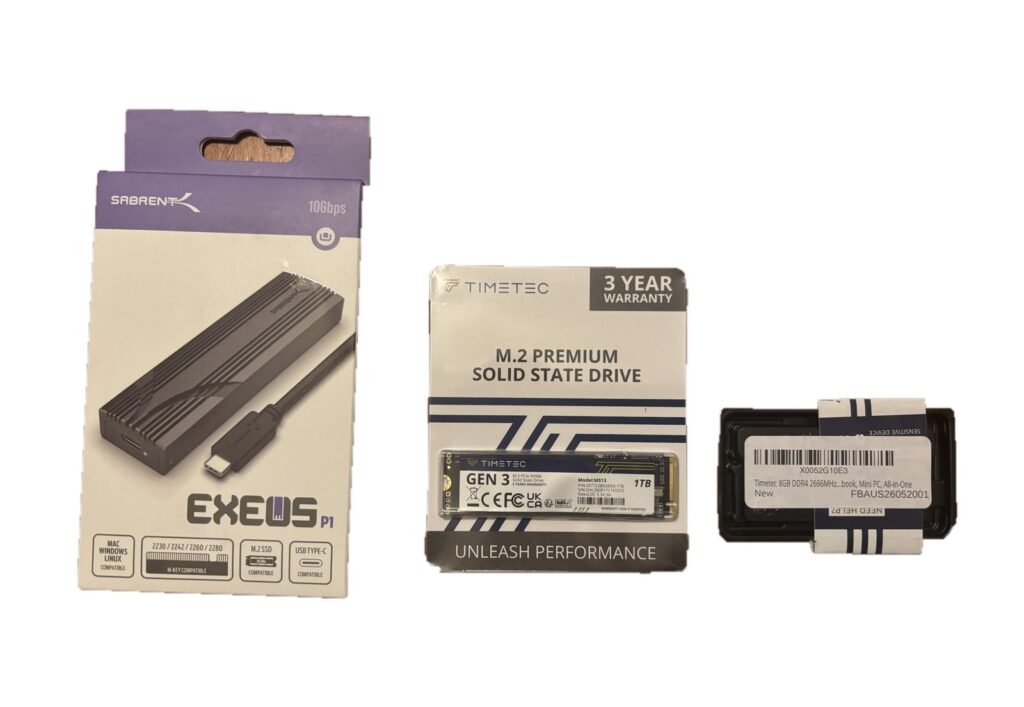
| RAM | Timetec 8GB DDR4 2666 SODIMM (CL19, 1.2V) | Goes in the empty slot for 16GB total |
| SSD | Timetec 1TB NVMe PCIe 3.0 M.2 2280 | Replaces the old 256GB SSD |
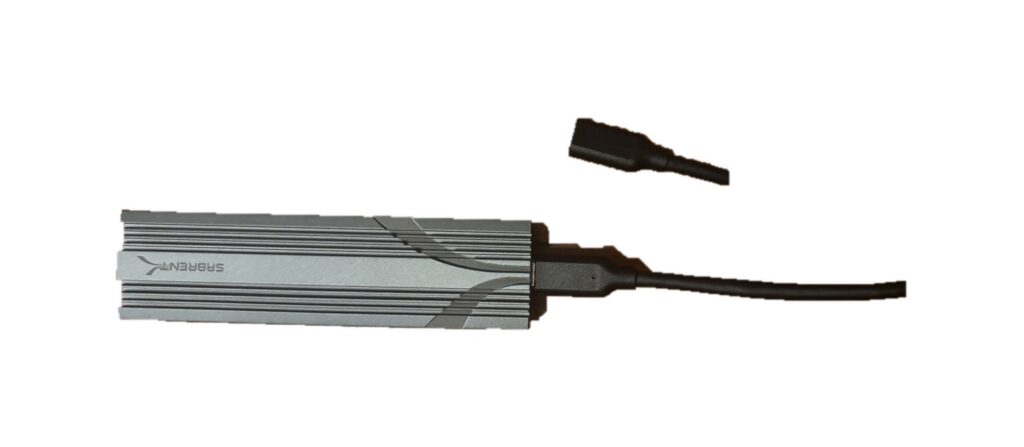
| SSD enclosure | Sabrent USB-C M.2 NVMe enclosure (10Gbps) | Connects the new SSD for cloning, then becomes an external drive |
| Tools | Precision Phillips screwdriver set, guitar pick | Removing bottom-panel screws, prying the panel open |
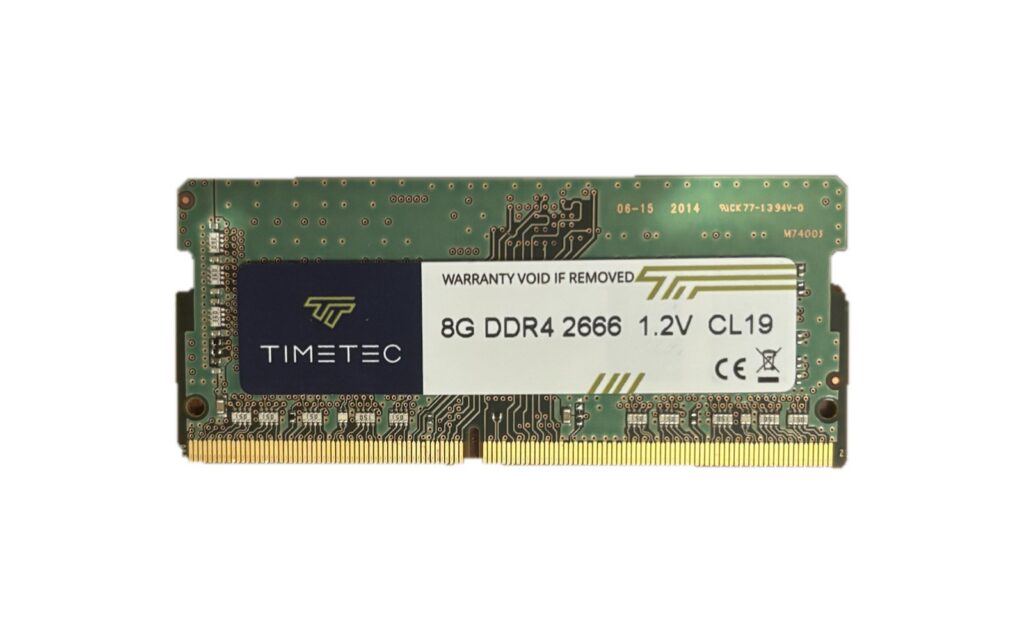
Before you buy, check two things: your current RAM type (DDR4 SODIMM here) and the length of your SSD slot (2280 on my laptop).
Step 1: Clone the whole SSD
To avoid reinstalling Windows, I copied the old SSD onto the new one, start to finish. The clone took 29 minutes 28 seconds.
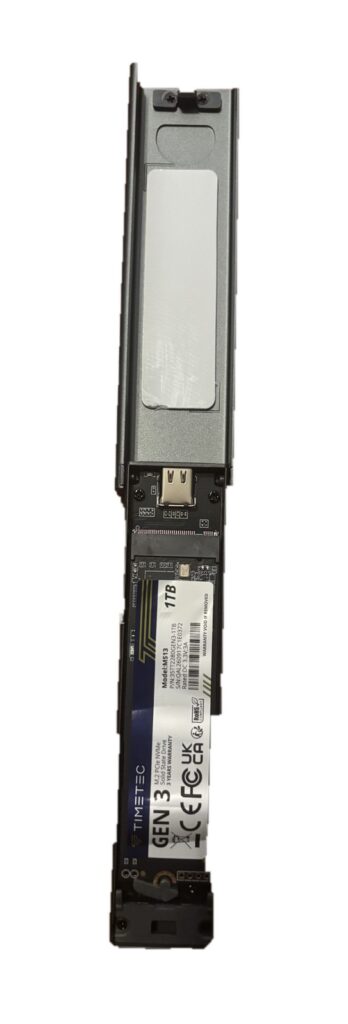
- I put the new SSD in the Sabrent enclosure and plugged it into the laptop’s USB-C port.
- In Disk Management, I only initialized the new SSD as GPT. I didn’t format it, since the clone would overwrite it anyway.
- I first tried the free Hasleo Disk Clone, but the free version doesn’t support cloning Windows to a USB-connected disk.
- So I switched to the 30-day free trial of Macrium Reflect X Home. The download kept failing in Chrome, so I downloaded it with Edge instead.
- On the source disk (256GB), I clicked “Clone this disk” and picked the new 1TB SSD as the destination.
- Under Copy Partitions, I chose the option that fills the destination disk. That grew the Windows partition from 237GB to 952GB.
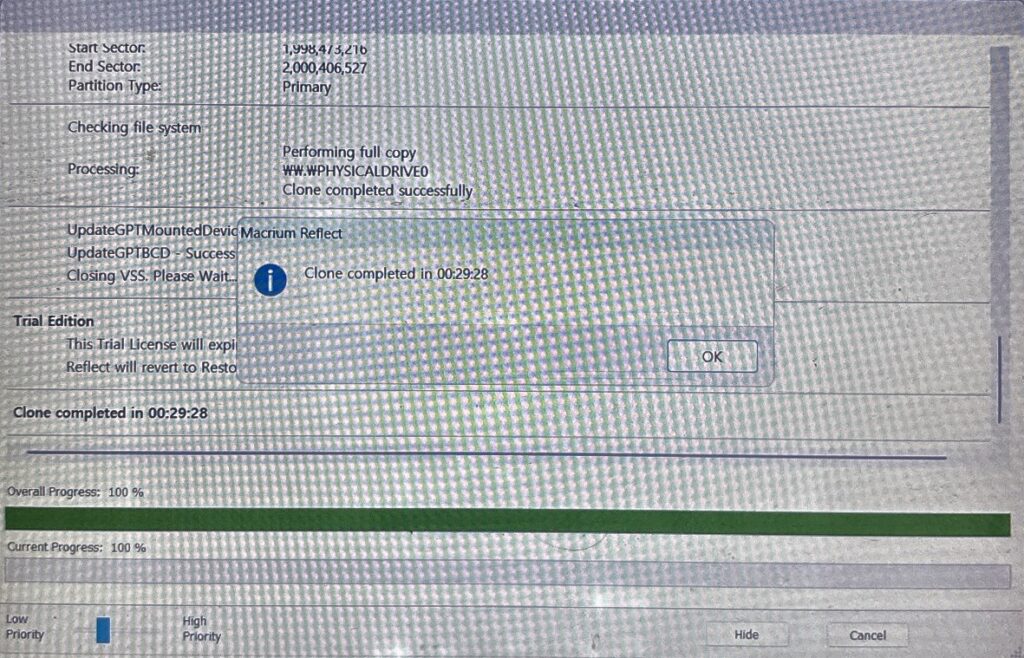
When you pick the source and destination, check the sizes twice. If you get them backwards, your existing data gets overwritten.
Step 2: Open it up, add RAM, swap the SSD
With the bottom panel off, the two RAM slots and the SSD sit right next to each other, so the hardware work took about 20 minutes.
- I held Shift while clicking Shut down to power off fully, then unplugged the charger and the enclosure.
- I removed the bottom-panel screws and worked a guitar pick slowly around the edge to open it.
- I disconnected the battery connector first. Grip the white connector body, not the wires, and slide it out level with the board.
- I slid the new RAM into the empty slot at about 45 degrees, all the way in, then pressed down until both clips clicked.
- The silver cover over the SSD doubles as a heat spreader and holder. I removed its one screw and slid the old TOSHIBA SSD out of the cover.
- I fit the new SSD into the cover the same way (chip side facing the cover), angled it into the M.2 slot and screwed it down.
- I reconnected the battery and closed the bottom panel.
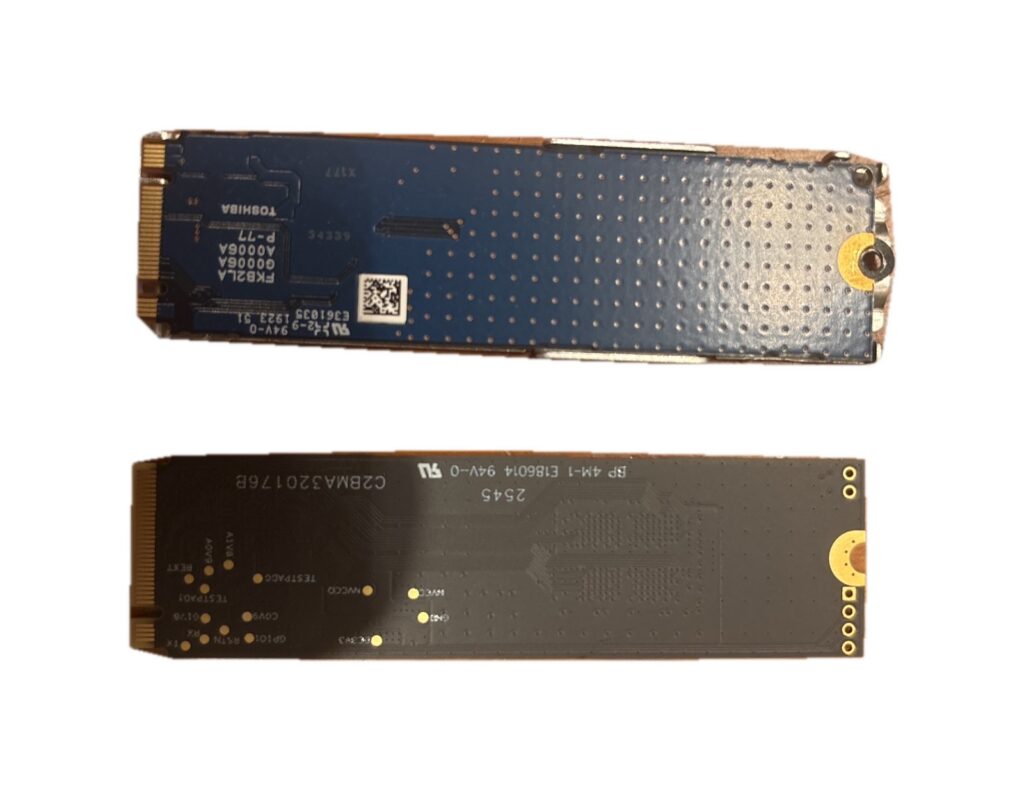
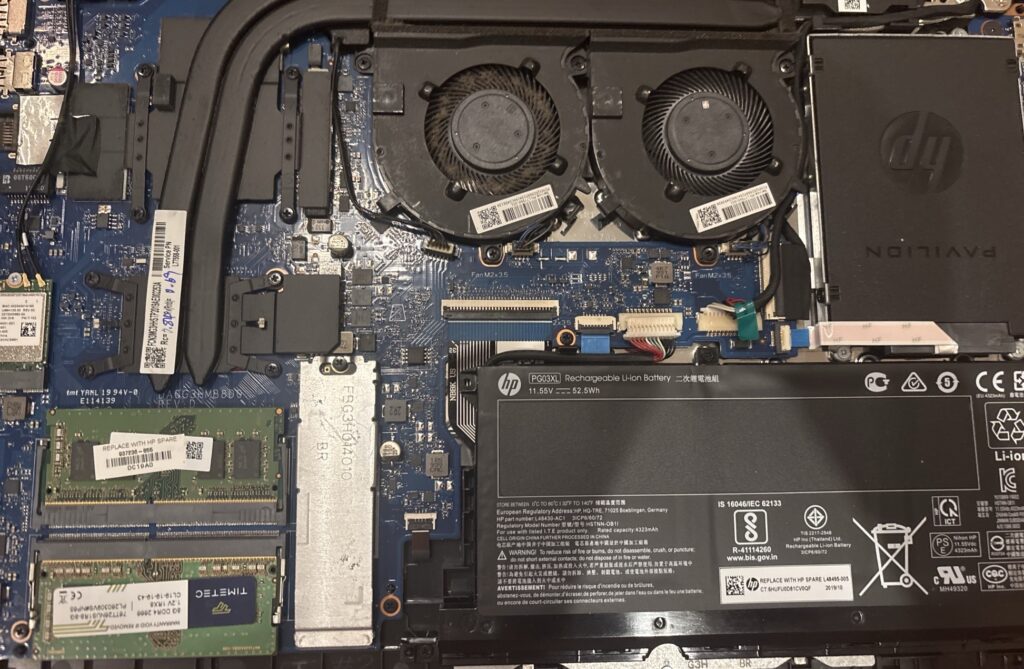
The old SSD was also 2280 length, so I didn’t need to move any bracket. The old drive had two notches (B+M key) and the new one has one (M key), but the slot is M key, so it fit fine.
Step 3: First boot and results
Windows booted straight from the new SSD, with every file and program exactly where I left it. Here’s what Task Manager showed afterward.
| Item | Before | After |
|---|---|---|
| RAM | 8GB DDR4 | 16GB DDR4 (2 of 2 slots, 2400 MT/s) |
| C: drive | TOSHIBA 256GB | TIMETEC PCIe 3.0 1TB (954GB) |
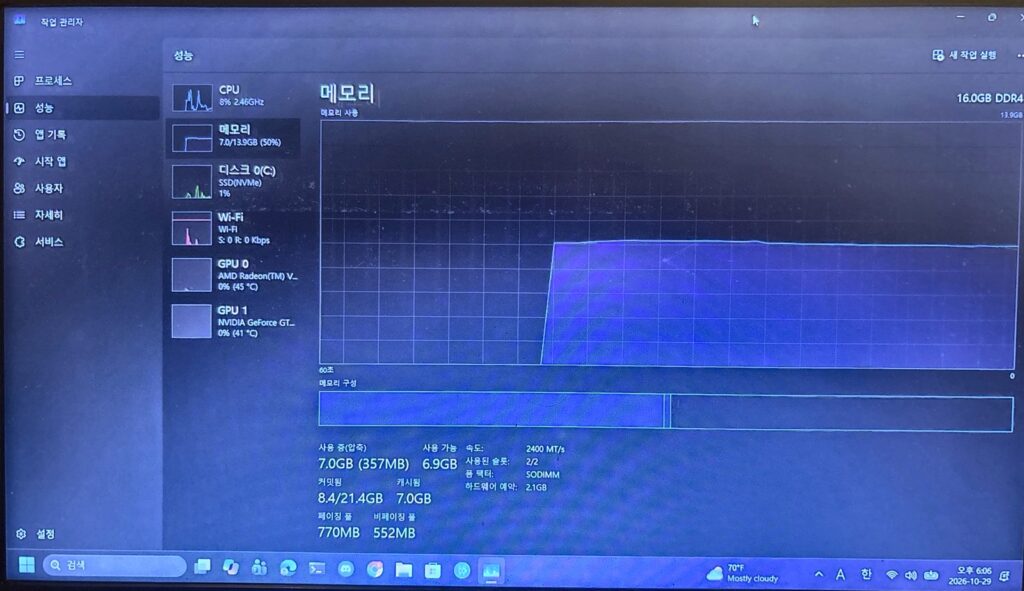
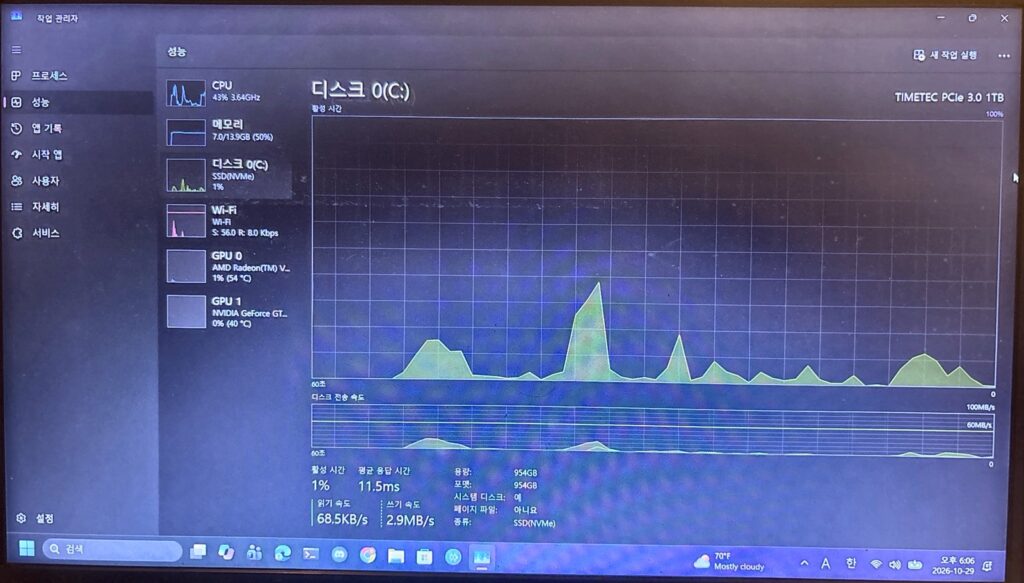
Only 13.9GB of the 16GB shows as usable, because the built-in graphics reserves 2.1GB. The 2666 RAM running at 2400 is also normal, since that’s the fastest speed this CPU supports.
I ran into three messages along the way, and none of them meant something was broken.
- CMOS Reset (502): Unplugging the battery connector resets the BIOS settings. Press Enter and it reboots.
- Wrong clock: Also from the BIOS reset. It fixed itself once Wi-Fi connected.
- AMDRyzenMasterDriver.sys blocked: Windows security blocked an outdated Ryzen Master driver. It has nothing to do with the upgrade, and I left the security setting on.
Finally, I uninstalled Macrium Reflect and Hasleo Disk Clone from Settings > Apps, since I no longer need them.
What I learned and what’s next
I’ve only been learning to code for two months, and I still finished this in one evening. Here’s what I wish I’d known going in.
- Check first that your cloning software supports an SSD connected through a USB enclosure.
- A cloned SSD won’t boot over USB. You have to install it inside the laptop.
- If you use BitLocker, look up your recovery key before you start.
- Always disconnect the battery before working inside. The CMOS message on the first boot afterward is normal.
- I’m keeping the old 256GB SSD for a few days. Once the new one proves solid, it goes into the enclosure as an external drive.
In the next post, I’ll show the 18 planet and landmark course videos I made with all this new space.